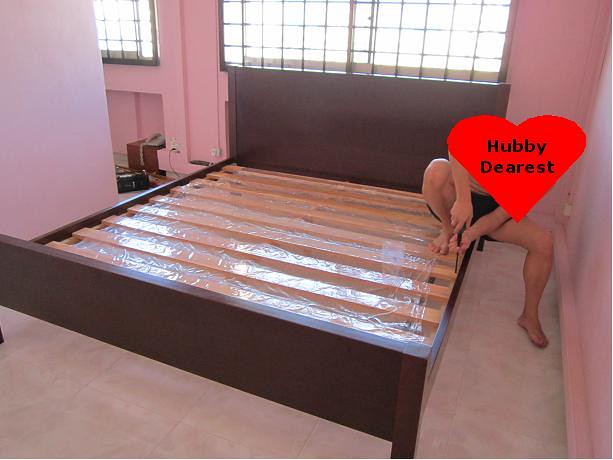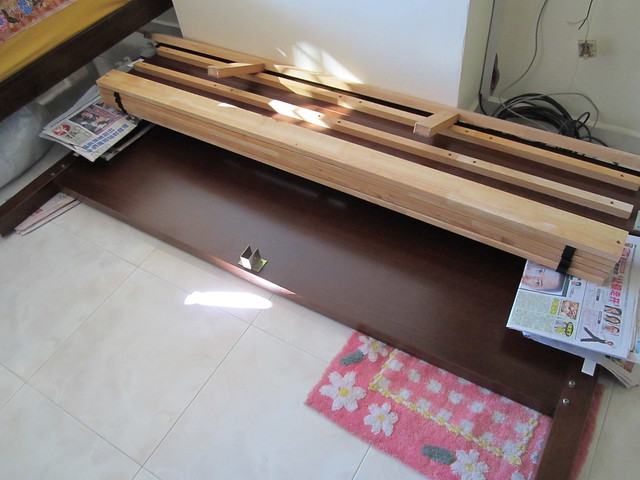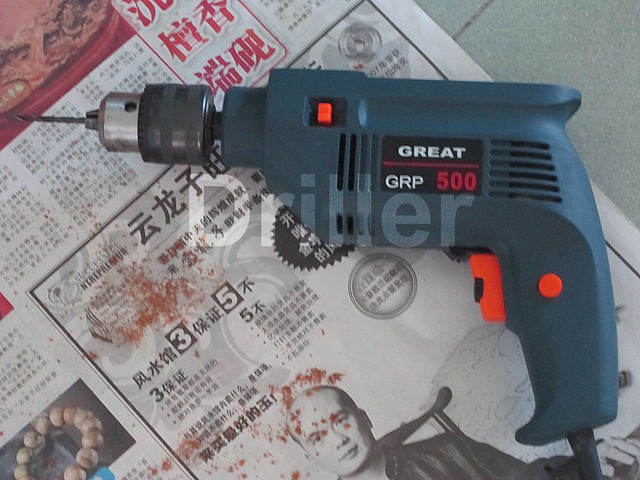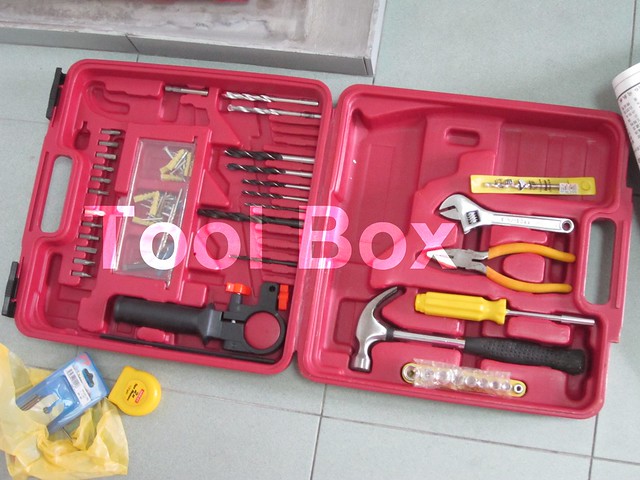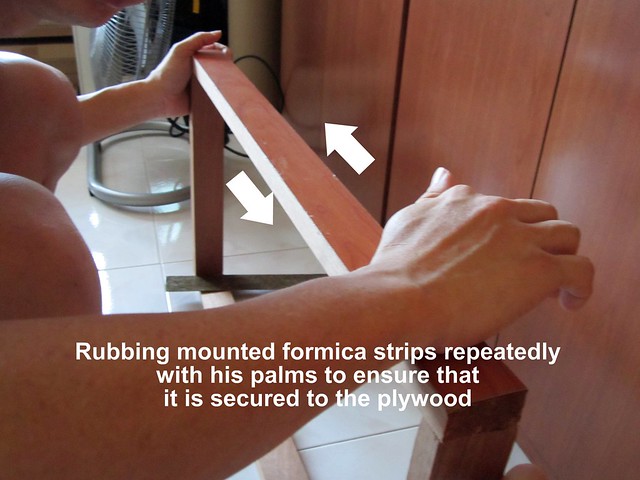
I have decided to take up this segment of DIY separately from those assignments that involve carpentry-related work.
To kick start part 2 of our DIY segment, let's start off with an interesting "appetizer", known as, De-Solv-it.
Adhesive stain remover : De-Solv-it (from Home-Fix stores)
De-Solv-it had been a great partner for all of us out there who had encountered stubborn adhesive stains on walls after peeling off stickers, old adhesive hooks, etc.
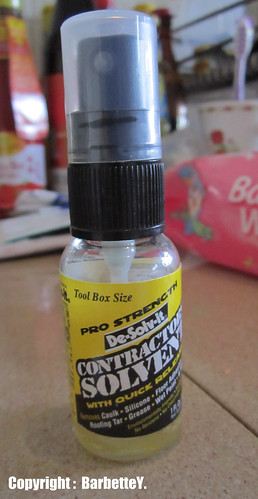
It is sold in Home-Fix stores and I purchased my first bottle of it from the Compasspoint branch.
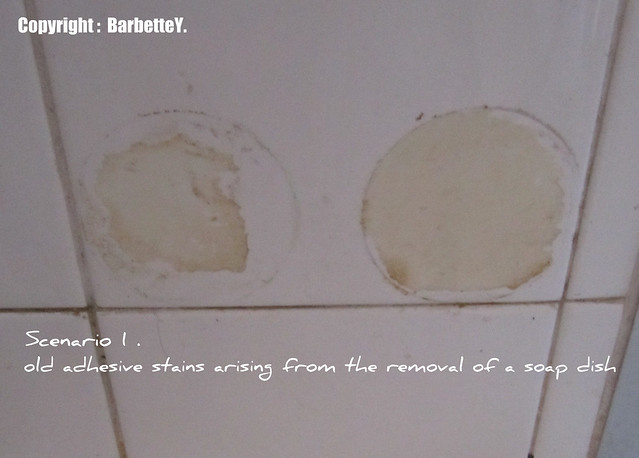
The first location I've tried this chemical was on the white ceramic tiles which were directly above my kitchen sink.
After removing an old dirty soap dish from the wall, there were 2 round-shaped adhesive stains that could not be peeled off as they were stuck fast on the tiles.
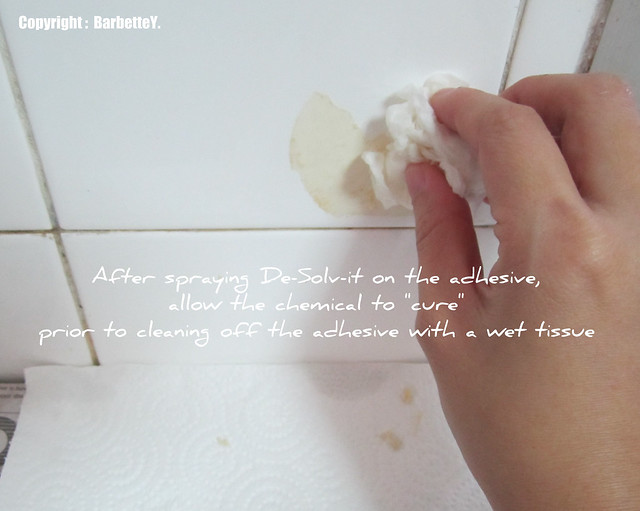
The chemical is an oil-based fluid which had a very strong pungent smell. As such, I've placed newspapers & kitchen towels just directly below the section where the chemical was going to be applied on.
After spraying on the chemical, I've set aside some time for it to work on these adhesive stains before cleaning it away with a piece of wet tissue paper. Those old adhesive stains were being soften by the chemical & disintegrated gradually when I tried to scrap it off with a ball of wet tissue paper.
The outcome is that of spotless, clean & white ceramic tiles that were free of adhesive stains:
[photograph pending]
There was another stubborn adhesive stain which had hardened over the years after we took off an old hook which had been left on the wall by the previous owner.
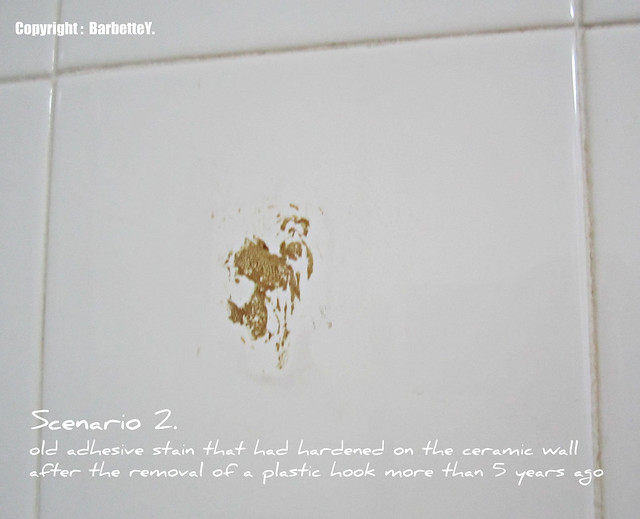
The adhesive seemed to have hardened into something that was akin to brown-looking putty cement as shown in the photograph.
Prior to acquiring De-Solv-it from Home-fix stores, such horrible looking adhesive stains were a lost cause which had marred the clean-looking appearance of white ceramic tiles on the kitchen wall.
After the chemical works wonders for the first scenario, we've decided that it won't do any harm to try it out on this stubborn adhesive stain.
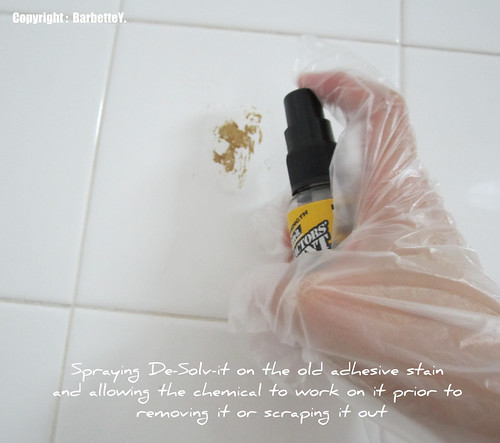
As the chemical causes wrinkles to my fingers during the first scenario & that it was tough to remove the pungent stench once it came into contact with my skin, I've decided to wear a pair of plastic gloves while spraying it on the stubborn adhesive stain.
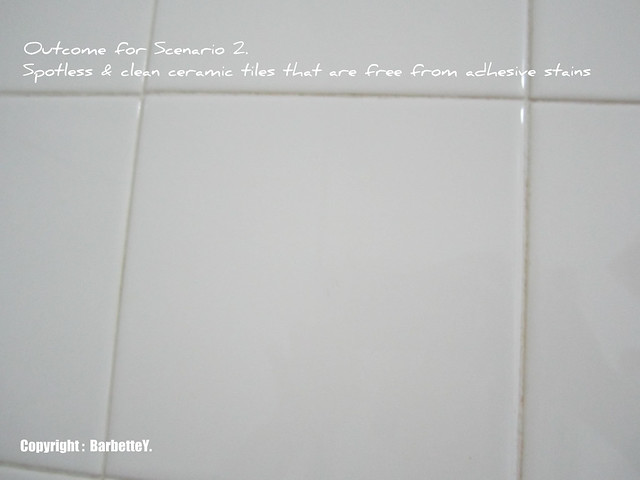
The same procedure was then repeated & the white tile had been restored to its original state: spotless & clean-looking as shown in the photograph.
Corrugated Paper (from Favour International)
The first time I encountered corrugated paper was during the restoration of bedrooms for my flat at the following section of my blog:
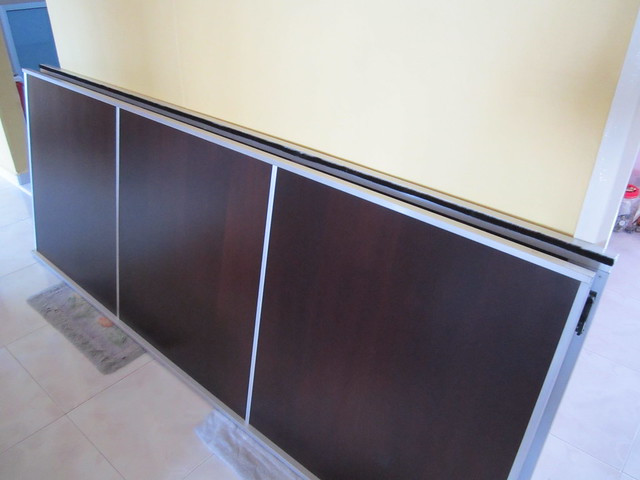
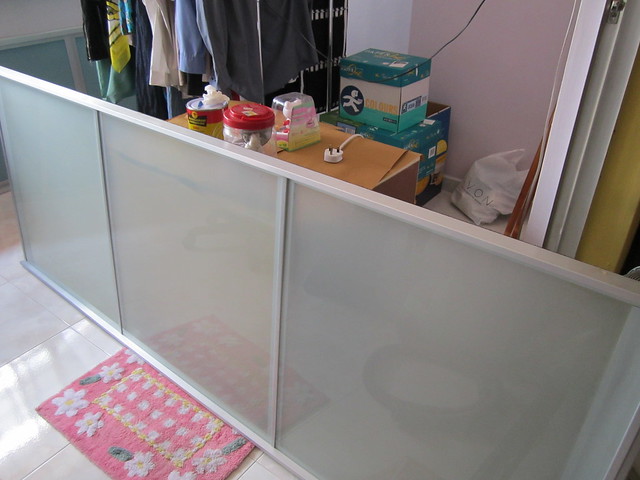
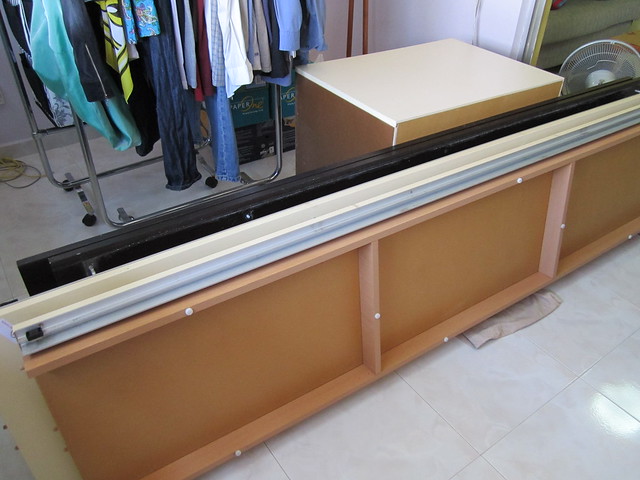
Thereafter, I cannot fail to swear by the importance & the use of corrugated paper in many DIY assignments, ranging from protecting my cute mini sliding doors (made by Han Fong Aluminium / http://barbettey.blogspot.com/2012/05/vanity-drawers-from-han-fong-aluminium.html) at the recess area below the windows during our DIY sessions on painting of walls, right up to using it to wrap up fragile items such as glass products & even metal wares prior to shipping.
I've known teenage customers from Favour International who bought the corrugated paper for the purpose of wrapping up their metal or stone sculptures or parts of the bicycle on the spot & shipping them out of Singapore after placing them into boxes.

These corrugated papers are sold in huge rolls & I've bought them from Favour International on & off when the need arises. e.g. covering my cute-looking sliding doors below the windows to prevent paint from spluttering onto them when we painted our flat.
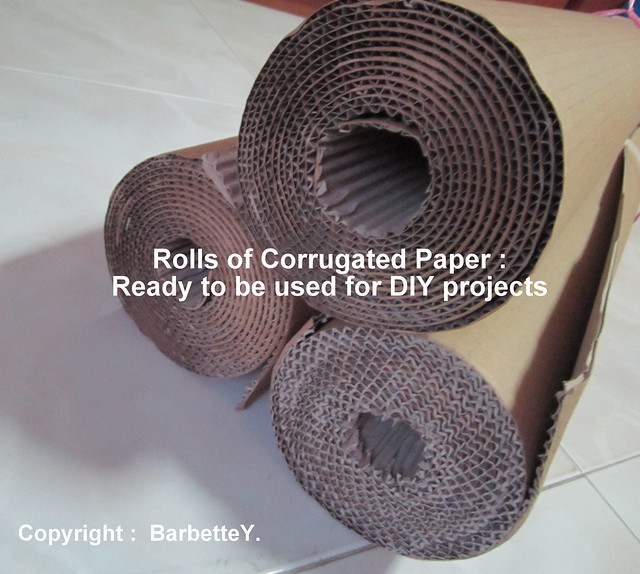
For those of you who are interested in purchasing corrugated paper, please visit Favour International at the following website:
http://www.packeverything.com.sg/
Alternatively, you might want to drop by at their flagship store at:
302, Ubi Ave One
#01-29/33
Singapore 400302
This flagship store is also selling many cute stuff (pretty packaging, stickers, etc) which could go into dressing up your gifts or catering for parties & wedding favours too!
Water Dessicants (from Favour International)
I would also like to introduce sachets of water dessicants which are sold at Favour International. These are very useful from my perspective because I've got plenty of uses for them.
In the past, I used to collect these miserable satchets of water dessicants which are found in boxes that came with newly bought shoes from boutiques. And I might be as desperate enough to collect those clean ones that came with packets of titbits. And I would be recycling these little bags of water dessicants when the need arises. :(
When I first stepped in to the flagship store for Favour International to buy corrugated paper, I was delighted to make a discovery of these mini packs of water dessicants. :D

This is the first bottle of water dessicants that I bought from Favour International:It cost me $11.50 for 80 satchets of 5-grams water dessicants & I've already used up every single satchet over a month by distributing them among the number of shoes, bags & watches & accessories that I've had
In addition to placing them in my shoe boxes, I also have this habit of placing them in boxes containing my watches & accessories. To prevent mould from setting in & attacking my handbags & shoes, I would swear by these small satchets of water dessicants.
Well if u were to ask me what this had got to do with DIY, it's too great a hassle to start off with another thread since I've already introduced corrugated paper under this thread. Thus, I felt that it'll benefit the fashion-conscious women like ourselves to make such a discovery of buying these mini satchets of water dessicants.
"Tissue" paper (from Favour International)
Another of my favourites from Favour International are their colourful "tissue" papers which are used to lay the interior of my shoe boxes.
As a regular user of such a product, the white version functions mainly as a separator to a pair of shoes in the box or are rolled into a ball & stuffed into the interior of the shoe to retain its shape when not worn on.
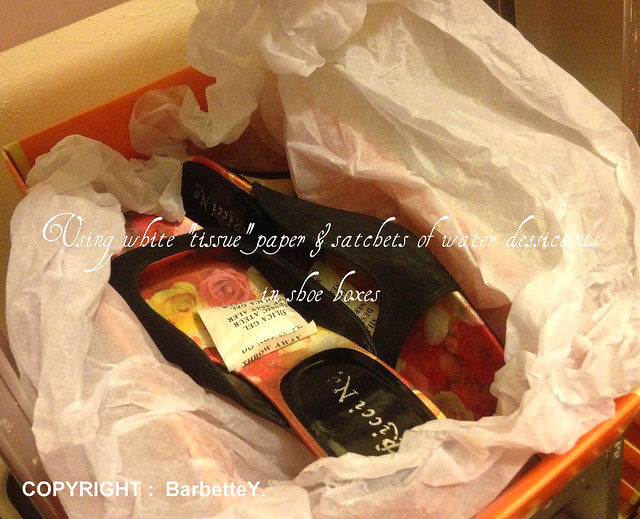
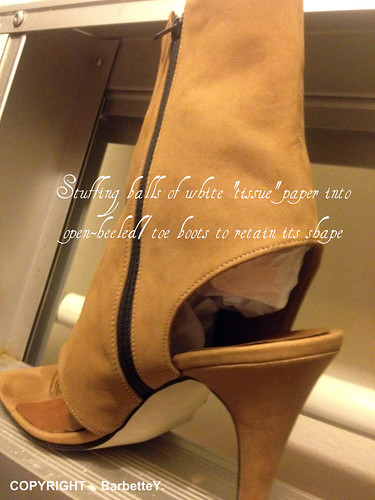
To make the best use of the product, I've extended its mileage from shoe boxes, all the way to the interior of bags & even for sequined garments!
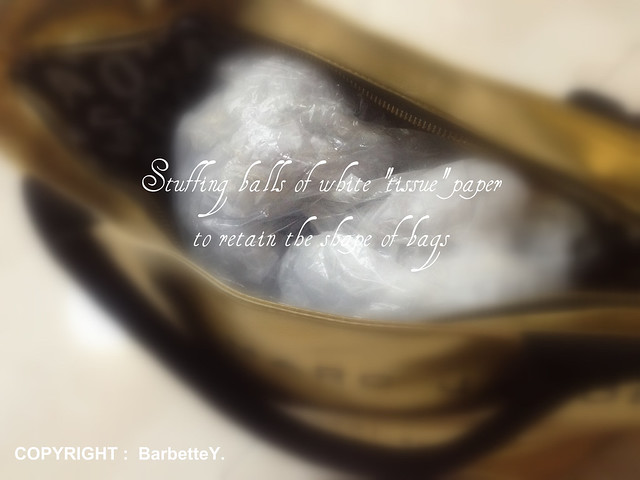
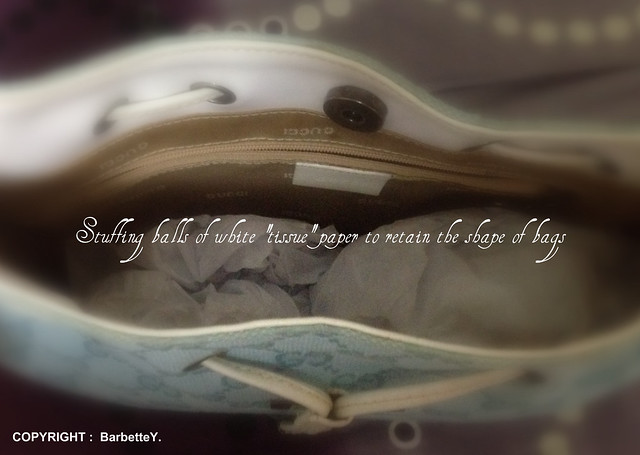
I've also had in possession a roll of purple coloured "tissue" paper which I had used for filling in the gaps in a box for 2 bottles of wines. It's more like a buffer to prevent the 2 bottles of wines from crashing into each other & breaking before they were handed over as gifts to the receiver.
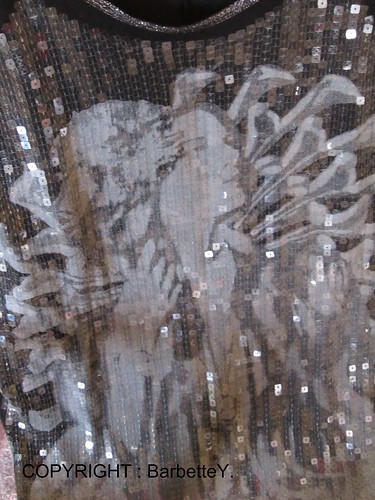
I bought this sequined top from a pushcart store @ a mall in a heartland region. The style is such that it was similar to that of singers performing on the stage during festive periods e.g. the 7th month ghost festival.
Anyways, I acquired it & realised that the rows of sequins could get entangled with one another if the blouse wasn't handled carefully. And after assessing the quality of the blouse, I realised that it's likely to be made in china & that I'm paying slightly above $20 for the design & style.
Then the idea of using the white "tissue" paper which I acquired from Favour International @ Ubi occured to me.
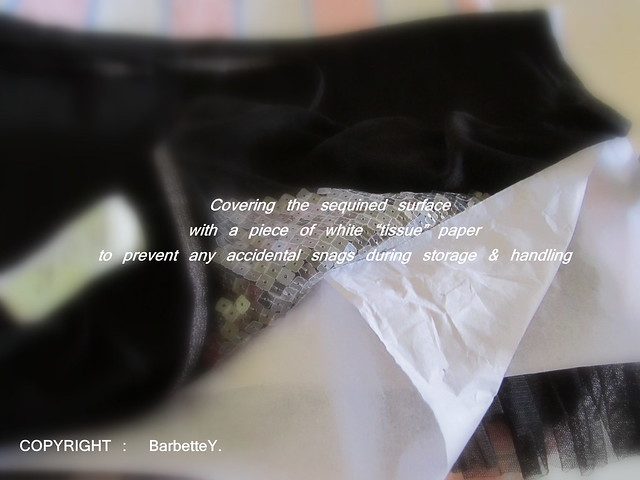
I was quick in fishing out a piece & layering it over the sequined surface before I started to fold the blouse into half, followed by quartering it by folding it again. The sequined blouse is then ready for storage. :)
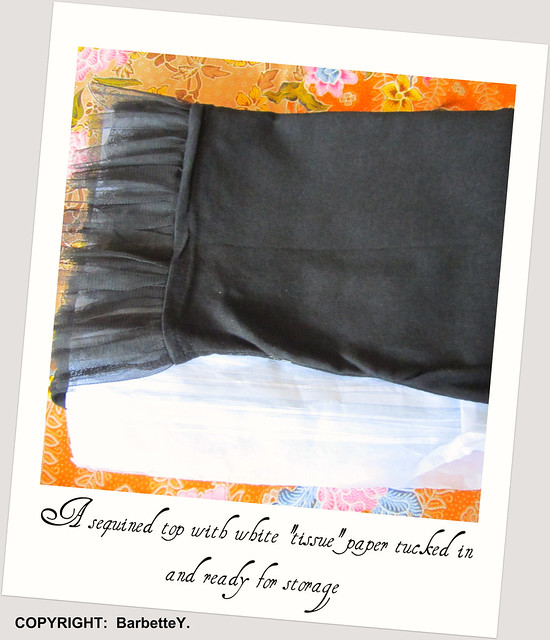
DIY-ing for our bathrooms
Since we are planning to move on to another new place within an indefinite time frame, both my hubby & myself had decided that we will be spending minimal money for our bathrooms.
As such, my hubby's potential for DIY-ing had been once again tapped & stretched.
Cutting water (copper) pipes
The water heater had been installed by our regular electrician-cum-plumber. However, my hubby had decided to relocate 2 sections of the water pipes that were running near the newly installed POTEX water closet.
He had recycled 2 sections of old copper pipes that were taken down after our plumber dismantled our 30-litre Ariston water heater that was mounted close to the toilet's ceiling.
And of course the length wasn't a perfect fit. As such, my hubby took its shortening to task by borrowing a clamp-like cutter (from one of our inlaws) to trim it down to the desired length as shown in the photographs below.
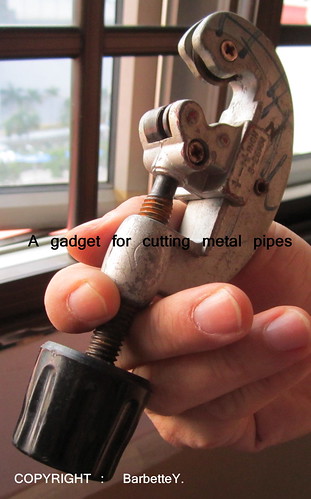
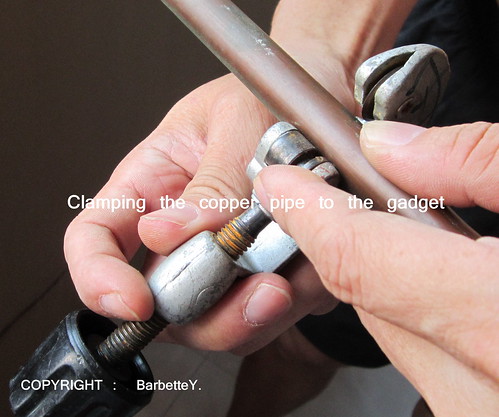
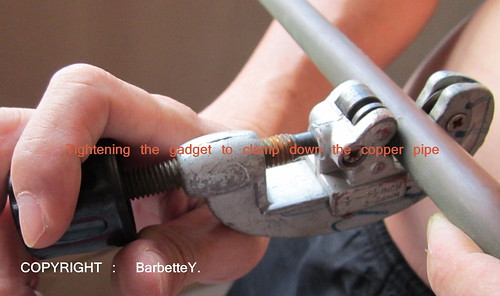
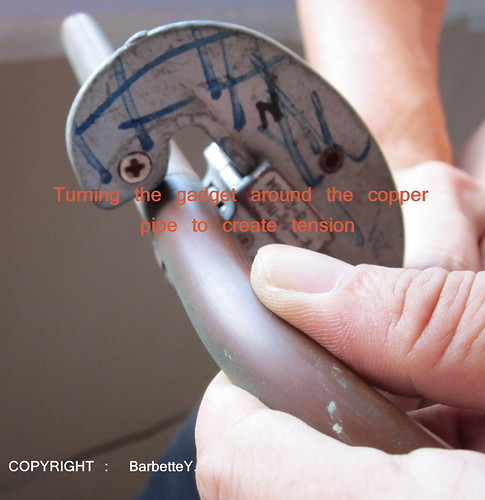
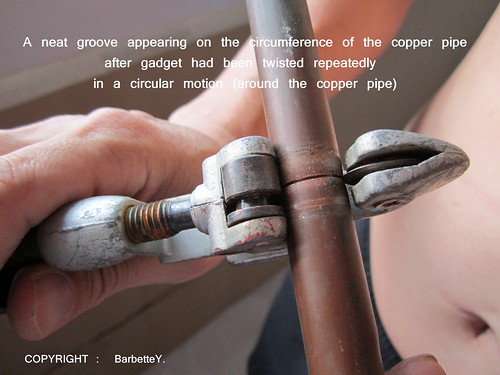

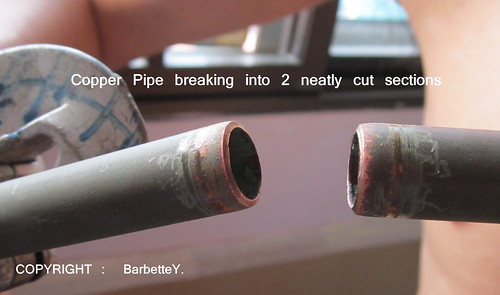
The outcome was a pair of neatly cut copper pipes with some scuff marks as shown in the photograph
Relocating copper pipes

After the copper pipes were cut to a desired length, my hubby proceeded in connecting these 2 copper pipes & relocating them near the newly installer POTEX WC (water closet). Please refer to the photograph below for the outcome.
Stainless steel nails (rust free) - from Home-Fix stores
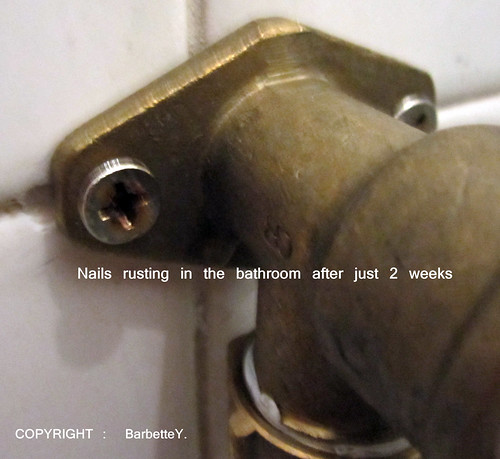
It was then that he discovered that the nails that were used to hold sections of the bidget & its water tap were rusty (refer to attached photograph) after 2 weeks from the day of installation by our regular plumber.
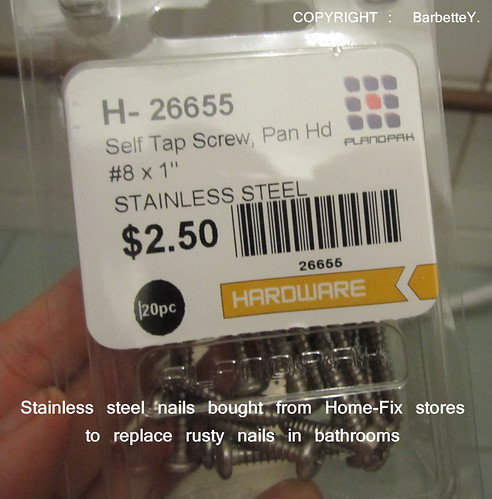
Once again, my hubby ventured into one of the Home-fix stores & bought a packet of stainless steel nails.
While I was sceptical over those nails that he had bought from Home-fix stores, he had assured me that they were definitely rust-free becox he tested their authenticity using a piece of magnet & there was absolutely no attraction between the 2. As such, he concluded that the problem of rusting would be solved once those rusty nails were replaced with the ones he had bought.
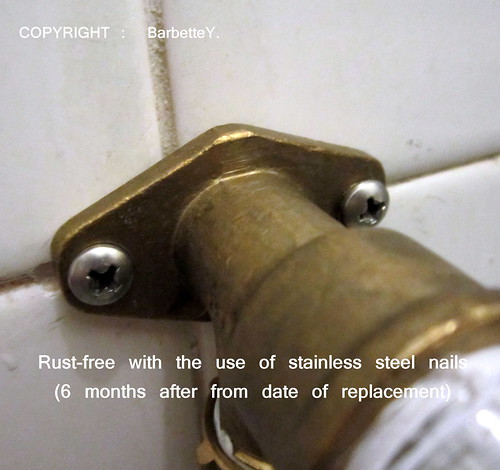
And true enough, it's already 6 months since he had those nails replaced & they were completely rust free (as shown in the photograph below)!
Mending wall crevices with Putty Fillers
I almost forgot to mention that prior to any painting, we would check for any crevices in walls that were a result of holes that were created by drillers for mounting brackets & inserting wall plugs with nails.
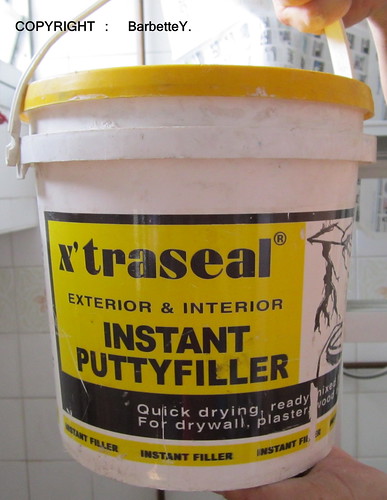
And we would usually salvage the condition by using a putty filler as shown in the photograph below.
We "inherited" this item from one of the contractors whom we engage to get things done for our flat. :) Not much putty is left in the mini bucket but it would suffice for home owners who dabble with DIY projects like ourselves.
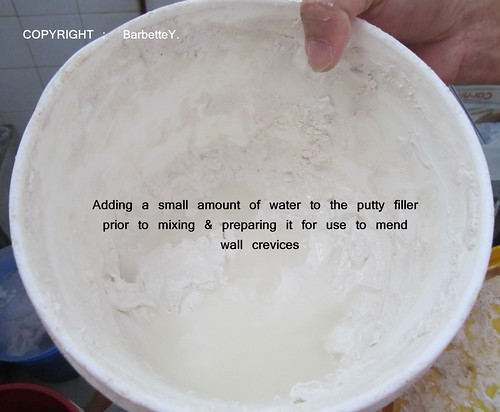
To keep the putty filler moist & useful, my hubby would add some water into the bucket & stir the mixture before he started using it for filling in crevices in walls.
Painting copper pipes - An undesirable, sticky chore!
Painting has always been viewed as an impossible chore for many of us & that includes myself.
After this sticky episode of messing around with paints, brushes & turpentine, my hubby felt that the painting of copper pipes were alot tougher than applying paint on walls.
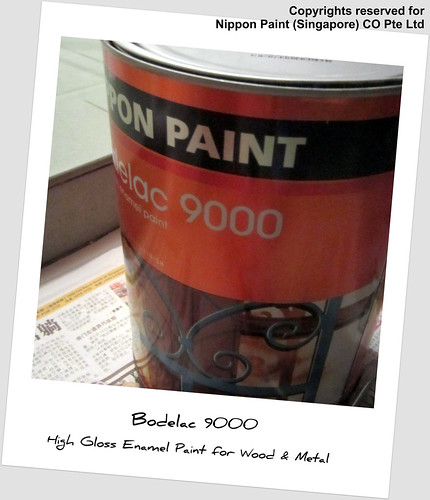
As Nippon had always been our preferred choice of paints, we had chosen Nippon's Bodelac 9000 series in white.
The sequence for painting the pipes is as follows:
1) My hubby recycled mineral bottles in both 1-litre & 500 ml caliberation by chopping off the top half of their "anatomy".
2) The tin of Bodelac 9000 & started stiring up the contents until an even tone is achieved.
3) A conservative amount is poured out into a readily cut mineral bottle which will serve as a "container" that could be easily hand held while painting is on-going.
4) Thinner is then added into the "container" to dilute the paint so that it could be easily coated on the metal surface. However, the mixture shouldn't be too diluted. Otherwise, the paint wouldn't be able to adhere to the surface or you've got to paint over many layers & that might risk wrinkling.
And of course, prior to any painting, we've got to protect the rest of the fixtures & personal effects that are permanently installed inside bathrooms & toilets.
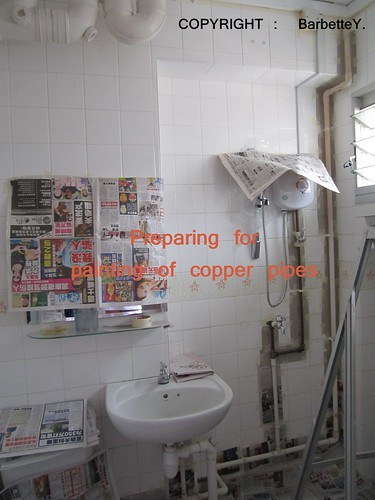
So here's a photograph of my "artwork" with newspapers!
I was too lazy to take any photographs of the painting process & had left my hubby to his own devices in the bathrooms.
Here are some photographs of the outcome. ;)
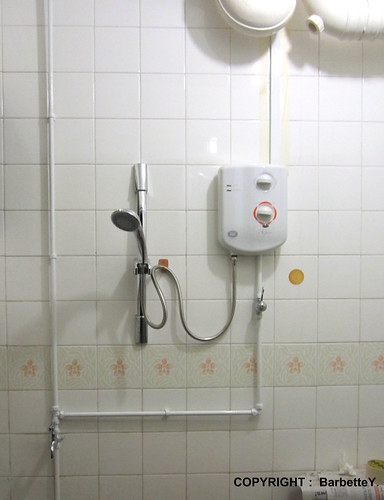
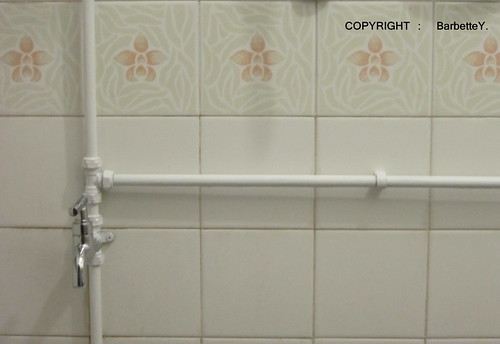
For any accidental drips of paint that were spluttered on the floor or ceramic walls, my hubby had cleaned them away with a piece of rag dipped sparingly in turpentine.
Changing taps
My hubby replaced the taps in our bathrooms without my knowledge & I didn't get to know that he bought new taps until they had been used to replace the old ones which had been corroded beyond the ability for polishing.
The taps that he bought were stainless steel because they aren't attracted to magnets at all.
Not unlike all other genuine stainless steel products, it is prone to stains although it doesn't rust easily.
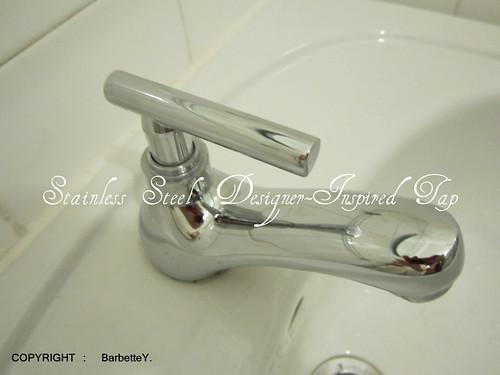
This is how the tap looks like after it has been used for the past 6 months or more.
Well for you guys out there who had top notch designer homes, such a design for a tap might not be anything impressive. However, I have labelled it "designer-inspired" since the handle of the tap was perceived as unconventional by myself.
Laminating (sliding) Glass doors
Sand blasted glass doors are beautiful to look at & does add a touch of elegance to our homes.
However, I would discourage many home owners from installing sand blasted glass doors as they are very difficult to maintain & are prone to stains which aren't easily removed. During such modern times, sandblasted glass doors are something of the past even though there are still interior designers who would still recommend them.
From my perspective as a home owner, we are the ones who will be saddled with any maintenance issues after the renovation / installation is completed. The party who recommended & sold the idea or the product wouldn't be present to respond to any of such maintenance issues or allow us home owners to seek recourse over any problems that occured through practical usage.
In short, sand blasted glass doors or windows do not age well.
We have acquired sandblasted glass doors ourselves through another aluminium fabricator prior to getting to know Han Fong Aluminum. It isn't difficult for you guys to imagine how we were nodding our heads away while the owners of Han Fong Aluminum told us what we wished we would have known earlier on about sandblasted glass.
It is with deep regrets that we were acquianted to Han Fong Aluminum only after we got our bathroom (sliding) doors replaced with sandblasted glass doors. :(
The most undesirable issue appeared after we realised that privacy became a big issue whenever anybody bathes in the common toilet which was located at the kitchen balcony. The sandblasted glass doors weren't opaque but there was a certain percentage of translucency depending on the distance the user is standing from the door while bathing in the bathroom.
For a start, we have decided to install shower curtains but it didn't turn out as expected & the bathroom looked so cluttered & cramped after we installed a curtain rod comprising 2 rods which were joint at a perpendicular angle. The horrible thing was that the section where the 2 rods were joined to form the 90 degree angle was too "heavy" without another bracket to support it. As such, both rods were slanted downwards towards the area where they were held together with a joint.
In short, awful & messy was how I would describe the outcome of the idea when it was being translated into reality. :(
My hubby couldn't wait to tear it down shortly after its installation.
We bought this assemble from IKEA but we sincerely hope that all readers wouldn't misconstrue that we are concluding that this item isn't good as we were using 2 sets of shower curtains which were relatively heavy & bulky for a small bathroom.
Finally, my hubby got chissed off with it & dismantled it over the weekends. It's being dumped at a corner of our living room.
Then we have decided to settle on laminating the glass door on the non-sandblasted side which was facing away from the interior of the bathroom.
I was reluctant initially as I had the mentality that the opaque lamination is going to look old fashioned & downgrade the sand blasted glass door into something ugly & dated. We have seen many laminated products from heartland shops & didn't like what we saw.
Then, we have decided to move on to Home-fix stores & are pleasantly surprised by the variety of opaque laminates from their supplier whose known as Basic Necessities International.
Their office is located at 13 Toa Payoh Lorong 8, #07-02 Braddell Tech, Singapore 319261 (Tel number : 6-251-9339).
Their products, including solar films could be viewed at www.basicdeco.com.sg. If you require a certain customised dimension for these products, please contact Basic Necessities International directly as they would be able to assist you in such customised orders.
The outcome of our sandblasted glass doors with their opaque laminate is beautiful when seen in person as compared to what's shown here on the photograph attached below:

We didn't know the proper method of mounting the self-adhesive laminate onto the glass panel and had done so in a very unproductive manner, taking a total of I think more than 5 hours to complete the task.
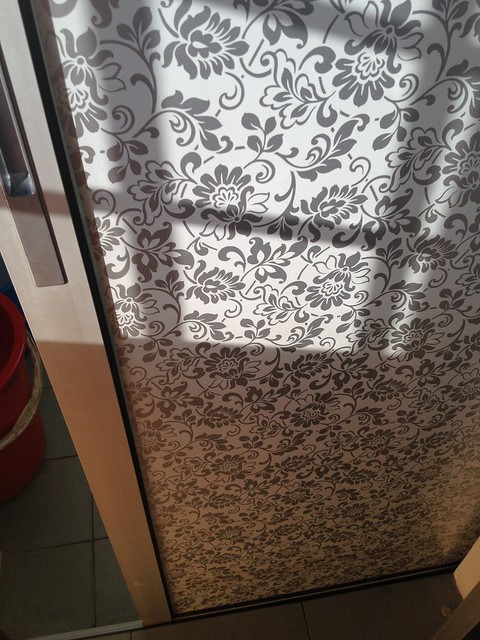
We didn't know the proper method of mounting the self-adhesive laminate onto the glass panel and had done so in a very unproductive manner, taking a total of I think more than 5 hours to complete the task.
Finally, when we got to speak to Basic Necessities, we realised that the professionals took a matter of minutes by spraying very diluted soapy water onto the medium & the self-adhesive laminate.
Laminating (sliding) doors using Formica
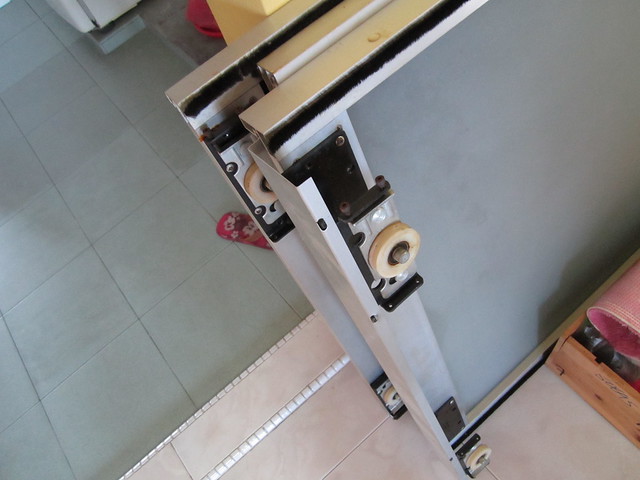
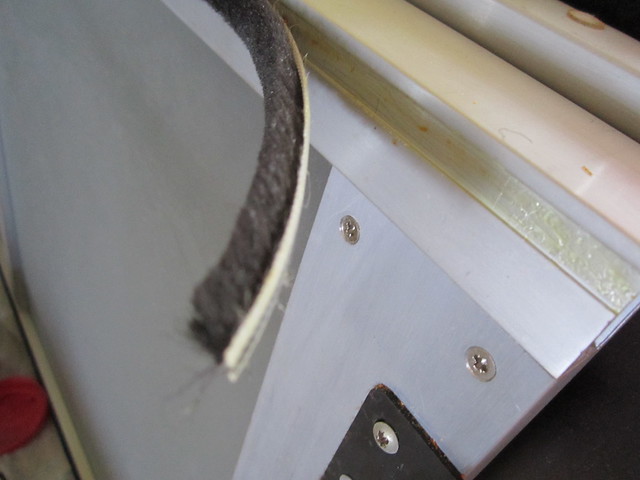
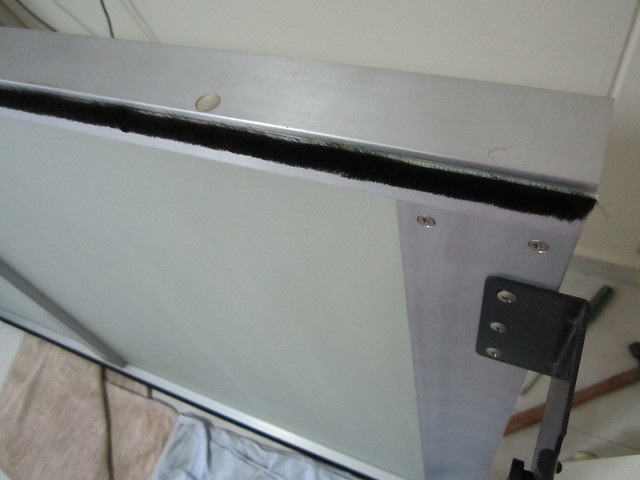
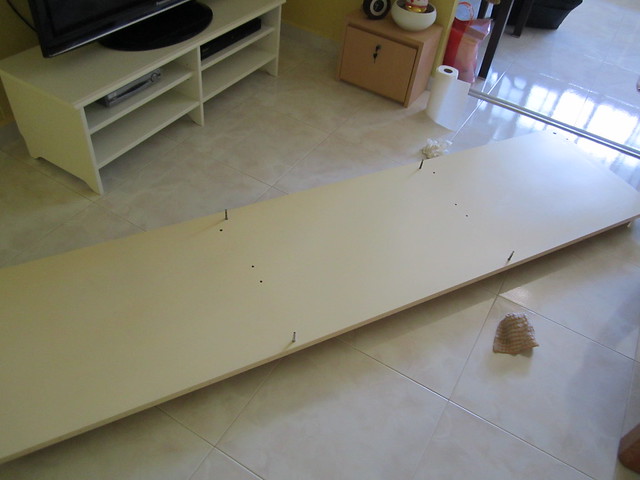
Since the pre-existing sliding door with a fibre glass panel had been serving us well as our storeroom's door, we have decided to retain it and give it a face lift by gluing on a sheet of formica over it.
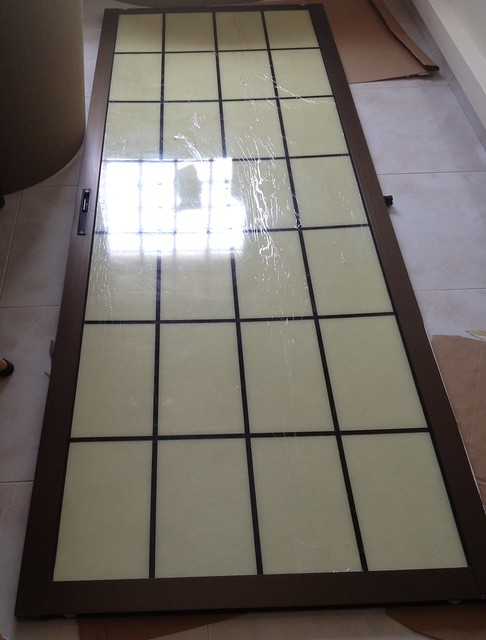
This photograph shows the "before" appearance of our existing old sliding door which is made up of a fibre glass panel that was encased in a bronze anodised aluminium frame.
Initially, we had contemplated getting a replacement door. However, it served no purpose since the panel would be made of plain one-coloured PVC panels encased by aluminium frame. Moreover, fibre glass material is a lot costlier and durable than the PVC panels that were commonly found in our local market now.
You could view from this photograph that our sliding door is in a great condition despite being installed more than 15 years ago.
We dropped by Jennings Laminates at Bllk 38 Defu Lane 10 #01-33 to browse through a few of their catelogues of formica and settled for a simple repetitive design of small flowers being embossed onto a matt surface in an off-white tone. The small flower prints were supposed to stand out in a glossy tone on the matt surface of the formica. This cost of this design was still affordable as compared to other designs that I would have preferred.
Our original intention was to get one with a goldish tone. However, we couldn't find any of it in Jennings' catelogues. As such, we settled for a hopefully timeless design in off-white colour.
Our original intention was to get one with a goldish tone. However, we couldn't find any of it in Jennings' catelogues. As such, we settled for a hopefully timeless design in off-white colour.
The one reservation Hubby Dearest had prior to pasting the formica over the panel of fibre glass was that it just might not stay on since he had the idea that the formica would only adhere to a rougher surface. However, his fears was allayed because the outcome was much better than expected.
We have not peeled off the plastic sheet protecting the laminate yet until our aircon installation has settled in. So for now, we have taken photographs of our newly laminated door as it is as shown below:

It looks boring like any other white glossy surfaced PVC panels which are commonly supplied by installers in aluminium works for now.
We are hoping that it'll look better after we have peeled off that plastic protective sheet.

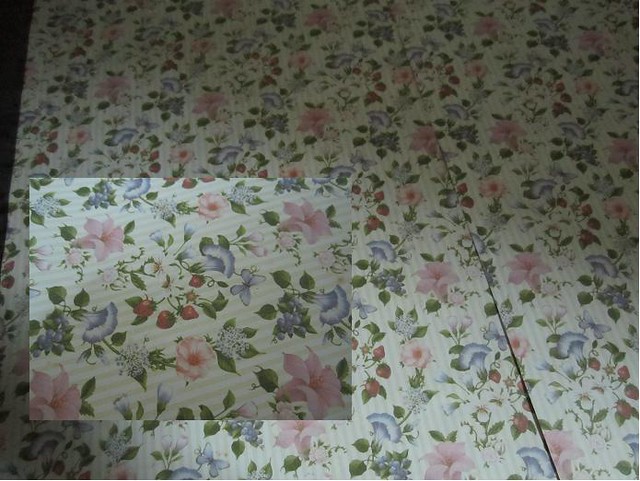
A close-up photograph of how the design looks like with the plastic protective sheet still laminated onto the surface.
The repetitive floral design is supposedly embossed in high gloss but on a matt & slightly textured (rough) surface.
We are hoping that the formica last since it's off-white in colour & prone to stains. As such, we are keeping the plastic protective sheet on the formica for as long as we could.
__________________________________________________________________________________
We have not peeled off the plastic sheet protecting the laminate yet until our aircon installation has settled in. So for now, we have taken photographs of our newly laminated door as it is as shown below:
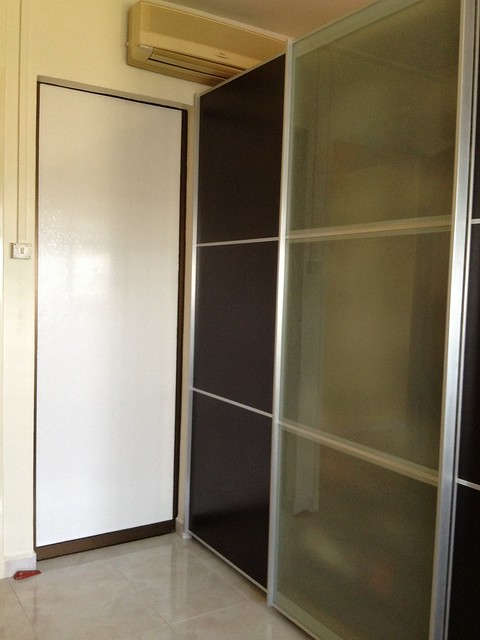
It looks boring like any other white glossy surfaced PVC panels which are commonly supplied by installers in aluminium works for now.
We are hoping that it'll look better after we have peeled off that plastic protective sheet.
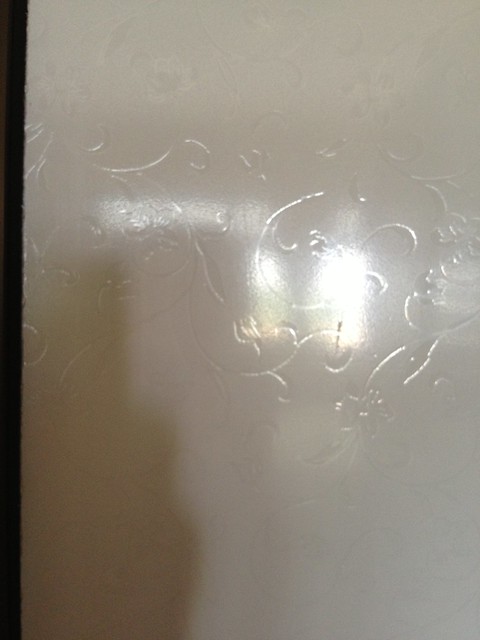
A close-up photograph of how the design looks like with the plastic protective sheet still laminated onto the surface.
The repetitive floral design is supposedly embossed in high gloss but on a matt & slightly textured (rough) surface.
We are hoping that the formica last since it's off-white in colour & prone to stains. As such, we are keeping the plastic protective sheet on the formica for as long as we could.
__________________________________________________________________________________
Disclaimer:
Kindly note that this thread is strictly for the purpose of sharing our DIY experiences as home owners and is definitely not an advertising platform or a medium for soliciting money making opportunities.
I am also not affliated to any companies or their products should they be mentioned in this thread.
Reader's discretion is therefore sought when viewing this thread.
For the ease of locating the products I have mentioned in my DIY projects here in this thread, I've included relevant contact details of the respective products or service providers.
Thank you for your kind understanding.